
Restaurant Operators: Online Ordering Setup That Prevents Lost Tickets

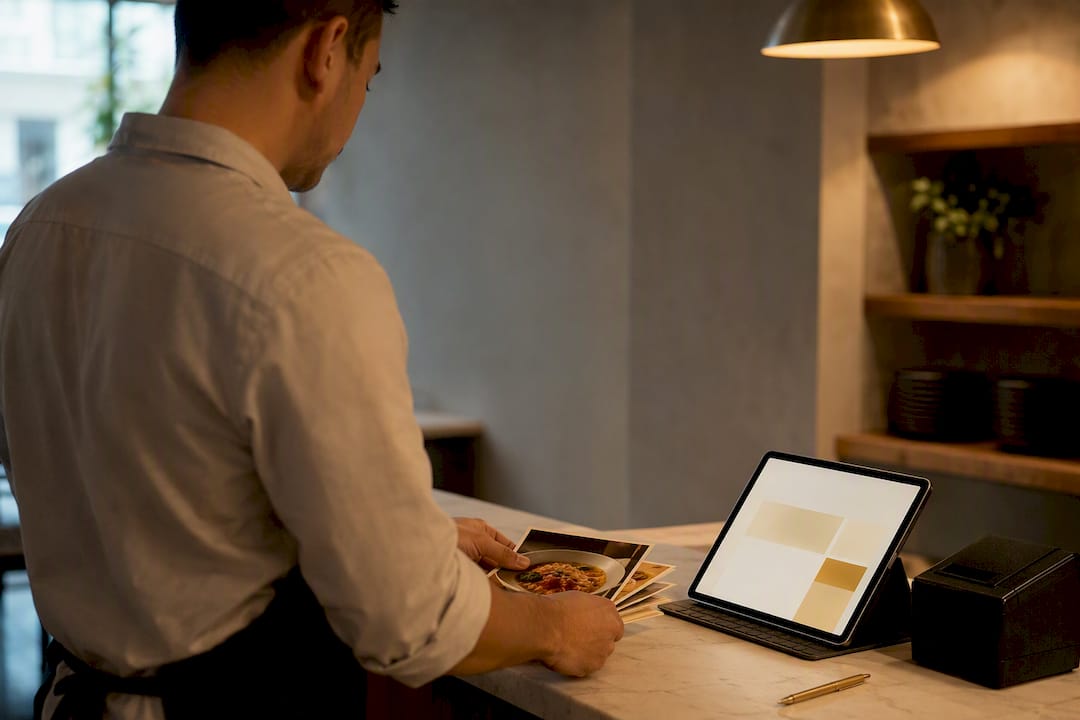
You can launch a working online ordering page today by choosing a POS-integrated ordering solution, uploading your menu, connecting it to your kitchen, and testing before you publish. Success looks like this by tonight: a live ordering page sending real tickets to the kitchen printer, an “Order Now” button on your website, and one promotion, whether that’s a Google Business Profile link or a QR code on the counter, already driving traffic. A platform with guided onboarding can compress this into an afternoon rather than a week.
TL;DR:
Ensuring POS compatibility and clear delivery handling options is critical to a smooth online ordering setup and avoiding mid-process rework.
Creating a well-structured menu with accurate prices, modifiers, photos, and categories significantly improves online conversion and order accuracy.
Connecting online orders directly to the POS with wired printers or kitchen displays prevents errors and streamlines kitchen communication.
Testing order flow thoroughly with comprehensive test orders can identify and prevent common launch issues like incorrect tickets or delays before going live.
Launching with clear promotion strategies, like prominent website buttons and QR codes, maximizes traffic and revenue during the initial critical weeks.
Table of Contents
How Do You Set Up Online Ordering for a Restaurant?
Restaurant online ordering setup breaks into four decisions, and getting them right in sequence saves you from redoing work later. Most guided platforms can get a restaurant live in hours if your menu content and photos are ready before you start, according to DoorDash’s merchant guidance. That single fact should shape how you spend your prep time: assets first, platform setup second.
Before comparing vendors, nail down four requirements: how much onboarding help you need, whether the platform talks to your existing POS, which payment methods your customers actually use, and how you want delivery handled (in-house, third-party, or a hybrid). Skipping this step is why so many owners end up mid-setup, realizing the tool they picked doesn’t sync with their register.
Choosing your ordering partner: a quick checklist
Confirm POS compatibility first. Guided onboarding, POS syncing, and flexible payment options rank among the top selection criteria for operators who need a fast, dependable launch.
Ask what “guided setup” actually includes. Some vendors assign a real onboarding specialist. Others hand you a help center link.
Verify supported payment methods, including cards, digital wallets, and any local preferences your customer base uses.
Check how delivery is handled: native dispatch, third-party integration, or pickup-only to start.
Once you’ve picked a direction, prepare your menu assets:
Write short, specific item names and descriptions (see our menu item description best practices for phrasing that reduces mistaken orders).
Build modifiers carefully. Every “no onions” or “extra sauce” option needs to route correctly to the kitchen.
Price items accurately and double-check against your dine-in menu for consistency.
Group dishes into simple categories. Appetizers, entrees, and drinks beat a single long scrolling list.
Add photos to your top sellers, since high-quality food photography measurably improves online conversion.
With assets loaded, create the ordering page itself and publish your hours, order types (pickup and delivery), and any early pickup windows.
Pro Tip: Build your menu in a spreadsheet first, with columns for name, description, price, and modifiers. Uploading from a clean sheet is far faster than typing items one by one into a dashboard, and it doubles as your permanent record when a platform migration happens down the road.
Connecting Online Orders to Your POS Without Losing Tickets
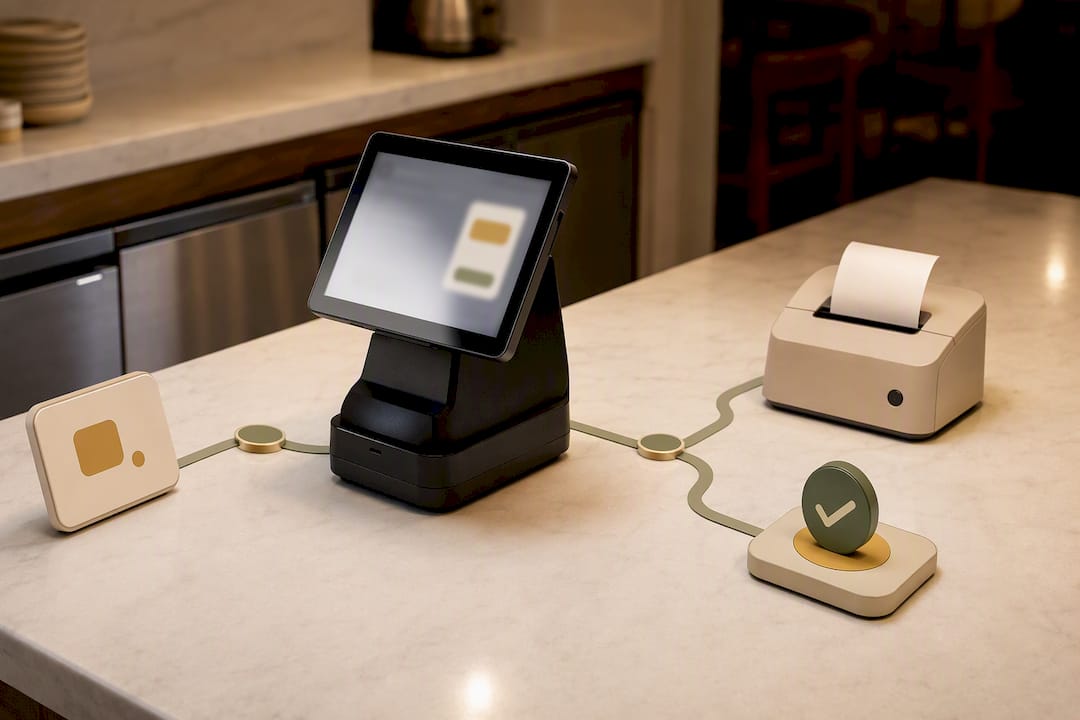
Order routing is where most launches go sideways. Connecting your online ordering to the POS keeps menus synced and sends tickets straight into the kitchen system, which eliminates manual re-entry and the errors that come with it.
Two rules protect you here. First, assign exactly one auto-firing device. Toast recommends wiring that device by Ethernet rather than Wi-Fi, since a dropped wireless signal is the most common cause of duplicate or delayed tickets. Second, map every printer or kitchen display to the correct prep station before you go live.
Confirm one device, and only one, is set to auto-fire.
Use a wired Ethernet connection for that device.
Map each menu category to its correct printer or KDS station.
Run a modifier-heavy test order to confirm accuracy before opening to real customers.
Pro Tip: Print a test ticket for every station, not just the main line. Bar tickets and dessert stations get forgotten far more often than the grill. For a deeper walkthrough on mapping items and printers, see our guide to cutting order errors through POS integration.
Setting Delivery Zones, Prep Times, and Sold-Out Flags
Configuration decisions here protect both your kitchen and your margins. Draw delivery boundaries that match what your car or driver network can realistically cover, and set a delivery fee or order minimum that keeps small orders from losing money.
Set delivery boundaries by drive time, not just distance. A 3-mile radius through downtown traffic is not the same as 3 miles on an open road.
Build in realistic prep times, and use scheduled ordering to spread out rush-hour demand instead of stacking it all at 6:00 PM.
Turn on sold-out or inventory flags so a customer can’t order the halibut special after you’ve run out.
Know how to pause ordering with one click when the kitchen is buried. Every platform worth using has this switch; find it before you need it.
Pricing Your Menu and Packaging for Direct Orders
Direct online orders typically avoid the steep commissions marketplace apps charge, though you’ll still pay standard card processing fees. Some platforms now offer commission-free direct ordering while still charging payment processing costs, and understanding that distinction should drive your pricing.
Prioritize fast-to-produce, high-margin items for your online menu first. Complex plated dishes create bottlenecks during rush.
Use combos and suggested add-ons at checkout to lift average order value without adding kitchen complexity.
Price delivery-only items slightly higher to offset packaging and driver costs, if your platform allows tiered pricing.
Pro Tip: Run the math on your actual per-order cost, including card processing and packaging, before setting menu prices. Our online ordering cost breakdown walks through typical fee structures so you’re not guessing.
Promoting Your New Ordering Link After Launch
A live ordering page with no traffic is just an idle tab. Your first two weeks should focus on visibility, not features.
Add a prominent “Order Now” button to your website homepage and your Google Business Profile.
Print QR codes linking straight to your ordering page, and place them on table tents, receipts, and takeout bags.
Send an email or text announcement to your existing customer list the day you go live.
Train front-of-house staff and phone answerers to mention direct ordering instead of defaulting to third-party apps.
Track orders per day, average order value, and channel mix (website vs. QR vs. social) for the first two weeks, then adjust prep times or promoted items based on what’s actually selling.
Pro Tip: Restaurants that skip a direct channel entirely leave revenue on the table, according to the National Restaurant Association’s industry research. A QR code on every receipt costs almost nothing and compounds fast.
How Do You Test Orders Before Going Live?
Never launch on faith. Most platforms let you run orders in cash or unpaid mode, which validates the entire flow without charging a real card.
Place a test order with multiple modifiers and confirm the printed ticket matches what the customer selected.
Test any promo codes and confirm tip handling behaves as expected.
Verify prep time estimates against how long the kitchen actually needs.
Watch for duplicate tickets, late KDS prints, or wrong prep-time defaults. These are the three most common launch-day errors.
One test order covering every prep station and modifier type catches most problems before a real customer ever sees them. If something still breaks after testing, contact vendor support with screenshots of the ticket, the timestamp, and the specific item ordered. That combination resolves most tickets on the first exchange.
How Mydigimenu Supports a Fast, Reliable Setup
This platform maps directly onto the checklist above. It offers QR and no-download ordering, customizable menu layouts with support for food photography, and integrations with third-party POS and payment gateways, alongside built-in loyalty and CRM tools for customer retention.
Guided onboarding to help map your menu and photos into the platform
QR-based and tablet ordering that requires no app download from the customer
POS and payment gateway integrations that keep tickets flowing to the kitchen
Loyalty programs and guest profile capture to turn first-time orders into repeat business
For deeper operational reading, our guides on optimizing your online ordering process and building your digital menu walk through the details step by step.
Start Small, Then Expand
Launch with pickup and a tight delivery radius. Practitioners consistently recommend a staged rollout to avoid overwhelming kitchen capacity in week one. Assign one point person for order issues, write a short SOP, and review numbers weekly before expanding zones or menu size.
— Abhi
See How Mydigimenu Fits Your Launch
Some platforms turn the checklist above into a single setup flow instead of five disconnected tools. Where a DIY stack means juggling a separate menu builder, a separate POS connector, and a separate loyalty add-on, some solutions bundle QR and tablet ordering, POS integration, and guest profile capture into one platform with guided onboarding baked in.
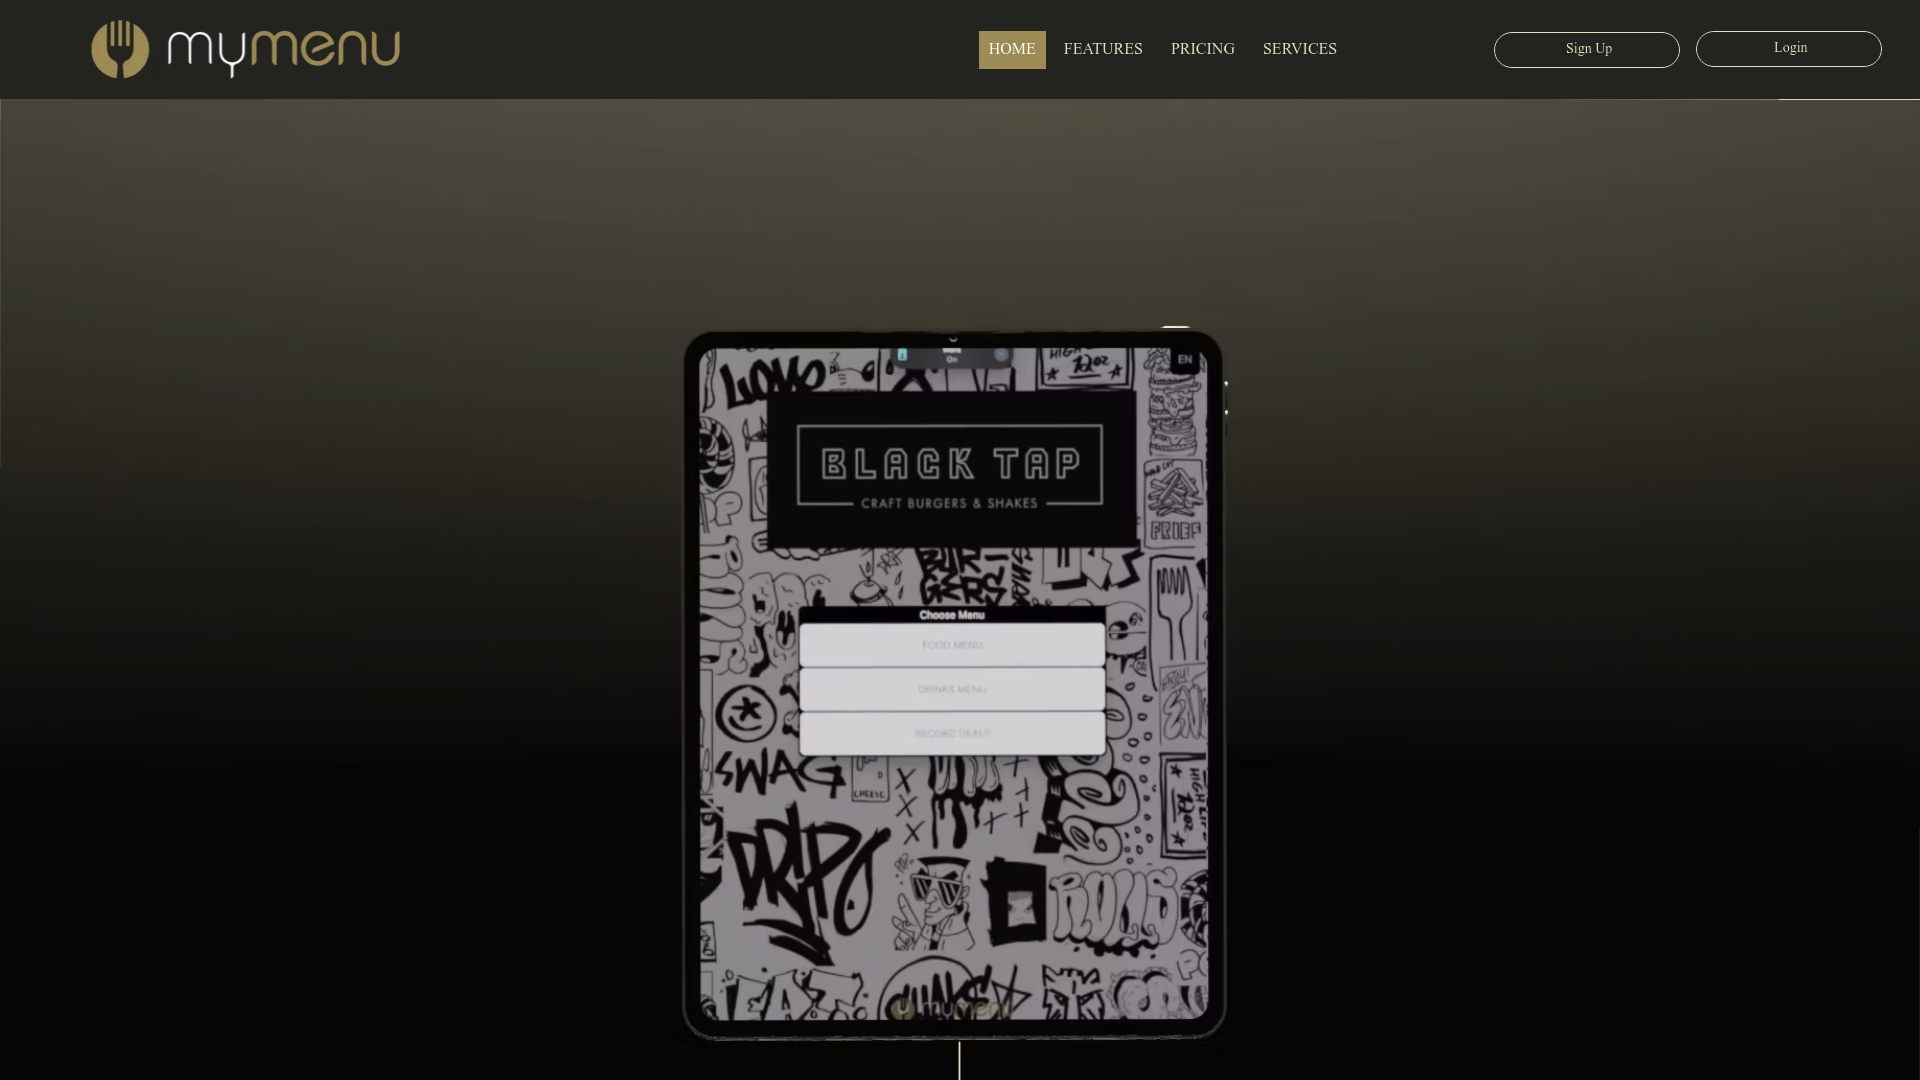
That matters most in the first week, when every hour spent troubleshooting a mismatched integration is an hour not spent training staff or promoting your link. QR menu tools mean a customer scans a code at the table or on a takeout bag and orders without downloading anything, while loyalty and CRM features work in the background to encourage repeat business. If you’re ready to see how your menu and prep times would look inside the platform, start with the QR menu product page or view the digital tablet menu ordering setup to request a walkthrough.
Sources
FAQ
What is the best online ordering system for restaurants?
The best system depends on your existing POS and staffing, but the strongest options share three traits: guided onboarding, direct POS syncing, and flexible payment support. Some platforms cover all three while adding loyalty and QR ordering in one dashboard.
What is the 30/30/30 rule for restaurants?
Definitions of this rule vary across the industry, and it isn’t a standard covered by the setup guidance in this article, so it’s best to check with your specific POS or accounting advisor rather than rely on a generic definition.
How do I set up online ordering for my restaurant?
Pick a POS-integrated platform with guided onboarding, prepare your menu with descriptions, modifiers, and photos, connect it to your kitchen printer or KDS, run a test order, then publish and promote the link on your website and Google Business Profile.
What are the best self-ordering systems for restaurants?
The strongest self-ordering setups combine QR or tablet-based menus with no app download required, letting customers order from the table or curb without friction. Some QR menu tools are built specifically for that no-download flow.
Recommended
The focus on testing a real ticket through the kitchen printer before publishing is spot-on—small setup gaps can cost serious orders. I also like the practical Google Business Profile and QR code promotion ideas. Check out https://muapi.online/muapi-review
Testing real tickets through the kitchen printer before publishing is a small step that prevents major headaches. The QR code and Google Business Profile tips are practical too. I’ve been using https://audiocleaner.online
Testing real tickets through the kitchen printer before publishing is a smart safeguard against lost orders. Connecting the Order Now button and a Google Business Profile link makes the launch practical, too. I’ve been using https://imagegen.pro/imagegen-free
J'utilise Pico Image depuis un moment pour redimensionner et compresser des images. Tout se fait dans le navigateur donc rien n'est envoyé à un serveur, ce qui me rassure. La suppression d'arrière-plan fonctionne plutôt bien aussi.