
Contactless ordering guide: boost efficiency and engagement
- Abhi Bose
- May 6
- 10 min read

TL;DR:
Restaurants now need contactless ordering systems to deliver faster service, safer interactions, and seamless experiences. Effective implementation requires proper hardware, quality platforms, compliance checks, staff training, and ongoing optimization to ensure user-friendly and legally compliant operations. Properly executed, contactless solutions boost efficiency, guest satisfaction, and revenue while reducing friction and increasing table turnover.
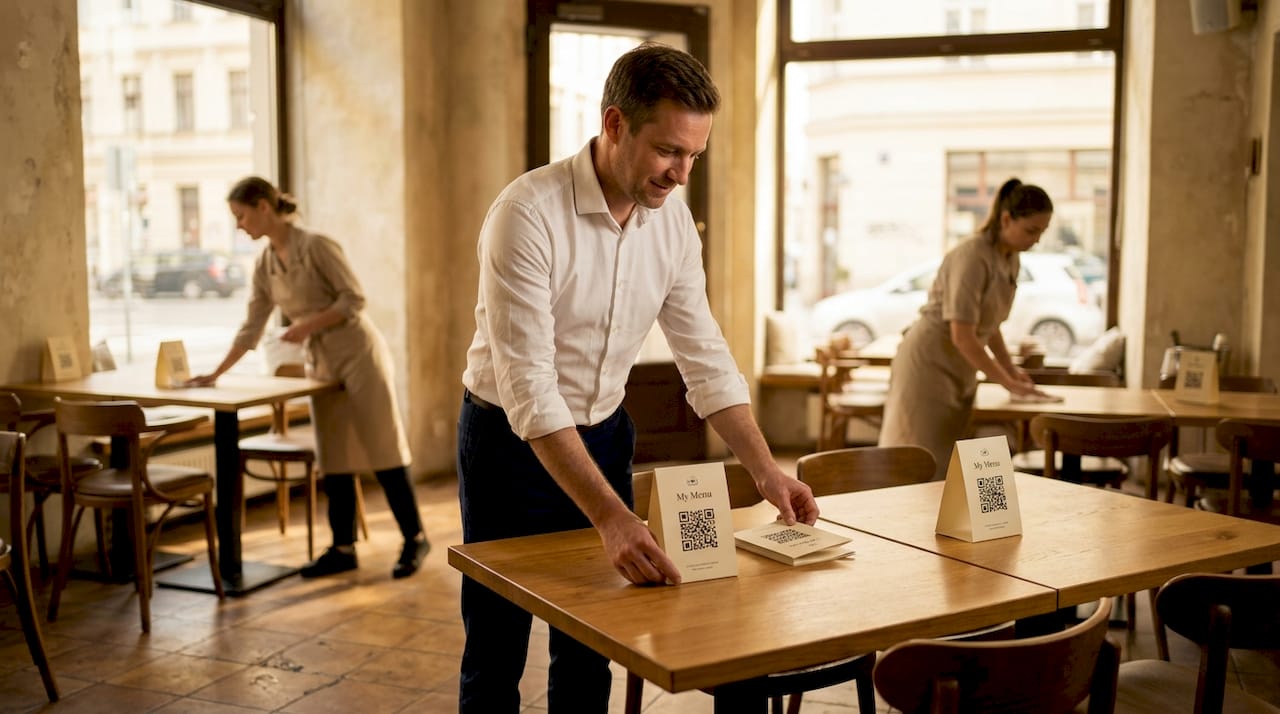
Restaurants across the country are facing a new reality: diners expect faster service, safer interactions, and a seamless ordering experience from the moment they sit down. Yet many operators are stuck wrestling with paper menus, overwhelmed waitstaff, and ordering systems that feel more like a friction point than a feature. Contactless ordering solves all three problems at once, turning the table into a self-service powerhouse that drives sales, captures guest data, and keeps lines moving. This guide walks you through every tool, step, and compliance checkpoint you need to launch a contactless ordering system that genuinely works.
Table of Contents
Key Takeaways
Point | Details |
Meet legal compliance | Digital ordering platforms must display allergen information and meet accessibility standards. |
Choose the right tools | Select contactless solutions that fit your workflow and integrate with your existing systems. |
Prioritize guest experience | High-contrast menus and upsell features boost engagement and retention. |
Train and test thoroughly | A well-prepared team ensures smooth rollout and minimizes guest interruptions. |
What you need before starting: requirements and tools
Now that you understand the need for change, let’s detail what you’ll need to successfully launch contactless ordering.
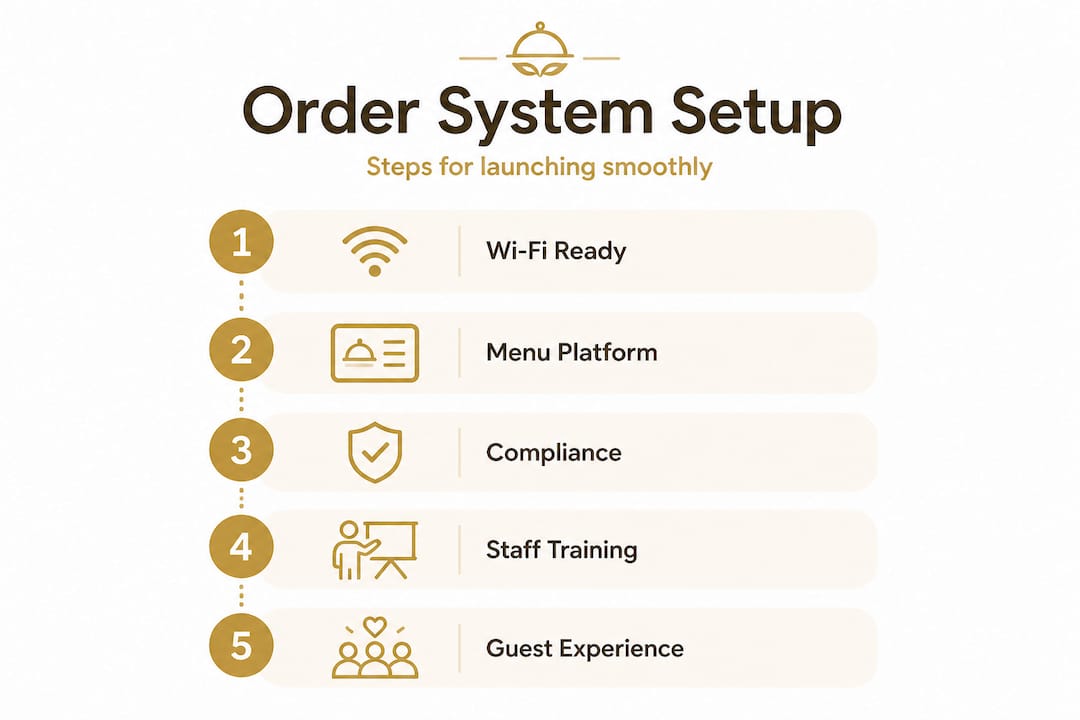
Before your first QR code hits a table, you need the right foundation in place. Think of it like mise en place in a professional kitchen: everything prepared, everything within reach. Skipping this stage is the single biggest reason early-stage rollouts stumble.
Hardware essentials
Your core hardware list is shorter than most operators expect:
QR code prints or stands for each table (laminated inserts or acrylic holders work best)
Tablets for table-side browsing or staff management views (optional but valuable for fine dining)
Reliable Wi-Fi coverage across the entire dining floor, including patios and private rooms
Receipt printers or kitchen display screens connected to your ordering platform
A backup mobile hotspot for Wi-Fi outages during peak service
Reliable Wi-Fi is non-negotiable. A guest who scans a QR code and waits ten seconds for a menu to load will simply wave down a server instead, defeating the entire purpose.
Digital menu platform must-have features
Not every platform is built equal. When evaluating options, look for these core capabilities before committing:
No app download required for guests
POS integration with your existing system
Support for high-quality food photography and video
Multilingual support and multi-currency payment processing
Real-time menu editing (critical for 86’d items)
Built-in allergen and nutritional information fields
Guest feedback and loyalty program modules
Thoughtful menu design for engagement directly shapes how much guests order and how quickly they decide, so choose a platform that gives you visual control over layout and imagery.

Compliance checklist before launch
Digital menus must meet accessibility and allergen disclosure standards just like physical menus, which means screen-reader friendliness, readable font sizes, and clearly labeled allergen information are not optional add-ons. They are legal requirements in a growing number of states. A quick compliance sweep of your platform setup should confirm all of these boxes are checked before you go live.
Use a restaurant launch checklist to make sure nothing slips through the cracks during your rollout.
Comparison of popular contactless ordering tools
Platform type | Best for | Key strength | Key limitation |
QR code menu only | Small cafes, fast casual | Low cost, quick setup | No integrated ordering |
QR code + ordering | Full service restaurants | End-to-end guest journey | Requires POS integration |
Tablet-based menus | Fine dining, hotels | Rich media, premium feel | Higher hardware cost |
Hybrid (QR + tablet) | Casual dining, bars | Flexibility for all guests | More complex to manage |
Full platform (MyDigiMenu) | Any size venue | CRM, loyalty, multilingual | Onboarding investment |
Pro Tip: Choose a platform that integrates with your current POS system from day one. Retrofitting integrations later creates data silos and doubles the staff training burden.
Setting up your contactless ordering system: step-by-step instructions
With essentials in place, it’s time to implement your contactless ordering solution.
The setup process is more straightforward than most managers anticipate, but sequencing matters. Rushing straight to QR code printing before your menu is fully configured leads to a poor first impression that is very hard to walk back with guests.
Step-by-step implementation
Build your digital menu. Upload every item with accurate descriptions, pricing, high-resolution photos, and allergen flags. Set up categories logically so guests move naturally from appetizers to mains to desserts.
Configure your QR codes. Generate unique codes per table (not one generic code for the whole venue). Dynamic QR codes are preferred because you can update the linked URL without reprinting physical materials.
Integrate with your POS system. Connect your digital menu platform to your point-of-sale so orders flow directly to the kitchen display or printer. Test every order path before going live.
Deploy on-premise signage. Place QR code stands or inserts on every table, at the host stand, and near the bar. Add a short line of instruction text on the stand: “Scan to view menu and order.”
Onboard your team. Train front-of-house staff on the new workflow, focusing on how to assist guests who need help scanning, how to monitor incoming digital orders, and how to handle edge cases like special requests.
Run a soft launch. Test the full guest experience on two or three tables during a quiet service. Catch any menu errors, slow load times, or integration gaps before you push it to the full floor.
Go live and monitor. Watch order flow for the first two weeks closely. Track average order time, check size, and guest feedback to identify friction points.
Optimizing for step-by-step ordering during setup pays dividends immediately in faster table turns and fewer order errors.
Implementation timeline overview
Step | Responsible party | Typical timeframe |
Digital menu build | Owner or manager | 1 to 2 days |
QR code generation and printing | Manager | Half a day |
POS integration and testing | Platform support + manager | 1 day |
Signage deployment | Floor manager | 2 to 4 hours |
Staff onboarding | Manager | 2 to 3 hours |
Soft launch and QA | Full team | 1 to 2 service shifts |
Full go-live | Full team | Ongoing |
Building streamlined digital workflows from the start prevents the bottlenecks that plague reactive implementations.
Pro Tip: Use screen-reader friendly, high-contrast QR menus from the beginning. This maximizes guest inclusivity and protects you from accessibility-related complaints before they arise.
Ensuring compliance and accessibility: avoiding costly mistakes
After system setup, it’s critical to ensure your digital ordering experience is compliant and inclusive.
Here is where many operators make a genuinely expensive mistake: they assume compliance is a concern only for their physical menu. It is not. California’s allergen disclosure law applies to digital menus and ordering kiosks directly, and similar legislation is advancing in other states. Treating this as a low-priority afterthought can result in real legal exposure.
“Many restaurant chains must comply with California’s allergen disclosure law, which requires clear identification of major food allergens on menus, including digital menus and ordering platforms.” — JD Supra Legal Analysis
Key accessibility features every digital menu must include
Sufficient color contrast between text and background (minimum 4.5:1 ratio per WCAG guidelines)
Readable font sizes (minimum 16px for body text on mobile)
Screen-reader compatibility so visually impaired guests can navigate independently
Language options that match your guest demographics
Allergen icons and filters that are easy to locate without needing to contact staff
How to audit your digital menu for compliance
A compliance audit does not have to be complicated. Run through this checklist monthly:
Open your digital menu on a standard smartphone and confirm all text is legible without zooming
Use a free color contrast checker tool to verify text readability
Activate screen-reader mode on a phone (VoiceOver on iOS, TalkBack on Android) and attempt to navigate your entire menu
Confirm every menu item has allergen information clearly labeled
Check that your platform’s update system allows you to flag new allergens in real time when recipes change
Pairing compliance with thoughtful engagement and compliance practices creates a digital experience that is both legally sound and genuinely guest-friendly.
Guest notification is equally important. Consider adding a short note at the top of your digital menu that reads: “Allergen information is listed on each item. Please let your server know about any dietary needs.” This simple addition demonstrates care and reduces liability simultaneously.
Maximizing guest engagement and operational efficiency
Once you’re compliant, use your digital platform to deepen engagement and drive results.
A contactless ordering system is far more than a safety measure. It is a revenue engine. The operators who see the biggest return on investment are the ones who treat the digital menu as an active selling tool, not just a passive catalog. A dash of digital can turn everyday service into extraordinary memories when you leverage the platform’s full feature set.
Three features that drive the most engagement
1. Rich food photography and video. Mouthwatering images increase item selection rates noticeably. Guests who can see a dish before ordering are significantly more confident in their choice and more likely to add extras. Short looping videos of signature dishes take this even further, turning menu browsing into an experience in itself.
2. Contextual upsell prompts. Configure your platform to suggest wine pairings, add-ons, or desserts at the right moment in the ordering flow. Unlike a server who may forget to upsell during a busy rush, your digital menu does it consistently, every single time.
3. Instant post-order feedback. A short one-tap satisfaction check after order submission catches problems early, before a guest turns to a public review platform. This loop is one of the most underused tools in the contactless ordering playbook.
Steps for optimizing menu flow and order speed
Limit your top-level menu categories to six or fewer so guests are not overwhelmed at entry.
Pin your highest-margin items to the most prominent visual position in each category.
Enable one-tap reorder for returning guests who log in via social or loyalty profile.
Set automatic kitchen alerts for orders that have been in queue for longer than eight minutes.
Use real-time item availability flags so guests never select a dish that is 86’d.
No-app ordering for loyalty captures returning guest data without creating friction, which is the sweet spot between convenience and personalization.
Following customer experience best practices consistently translates digital engagement into measurable loyalty lift.
Digital table engagement builds the kind of guest connection that keeps covers coming back week after week.
Pro Tip: Set up an automatic prompt that appears after order confirmation, asking guests to join your loyalty program or leave a quick review. This moment, when satisfaction is highest, is the best time to capture that action.
Why most contactless ordering rollouts fall short (and what actually works)
After exploring how to maximize results, it’s crucial to understand what separates the top performers from the rest.
Most contactless ordering failures are not technology failures. They are people and process failures. We have seen operators invest in capable platforms, only to watch adoption rates stagnate because the rollout was treated as an IT project rather than a guest experience transformation.
The most common misstep is selecting a system with too many features and activating all of them at once. Guests land on a menu and face a maze of loyalty prompts, language selectors, upsell carousels, and feedback requests before they have even found the burger. Complexity kills conversion. Simplicity wins every time.
The second major mistake is underestimating how much team buy-in matters. Front-of-house staff who feel threatened by self-ordering technology or who simply do not understand it will subtly discourage guests from using it. They will hover, they will offer to take the order the old way, and within a week your contactless system is a decoration on the table rather than a working tool.
Staff education has to come before guest education. When your team genuinely believes in the system and can explain it confidently in ten seconds, guests follow their lead. It is that simple.
The third mistake is launching without a feedback loop. Operators who pilot on two tables, measure guest response, and iterate quickly before full deployment consistently outperform those who flip the switch venue-wide on day one. A mobile ordering experience that gets refined over the first two weeks of soft launch will be dramatically better than one that never gets reviewed.
The operators who win with contactless ordering share one trait: they treat the platform as a living system that gets better with every service. They review weekly data, they ask guests what confused them, and they make small improvements continuously. That discipline, not the technology itself, is what drives lasting results.
Ready to launch your contactless ordering solution?
Building a contactless ordering system that is efficient, compliant, and genuinely engaging is within reach for any restaurant, regardless of size or budget. The tools exist. The roadmap is clear. The only thing left is execution.
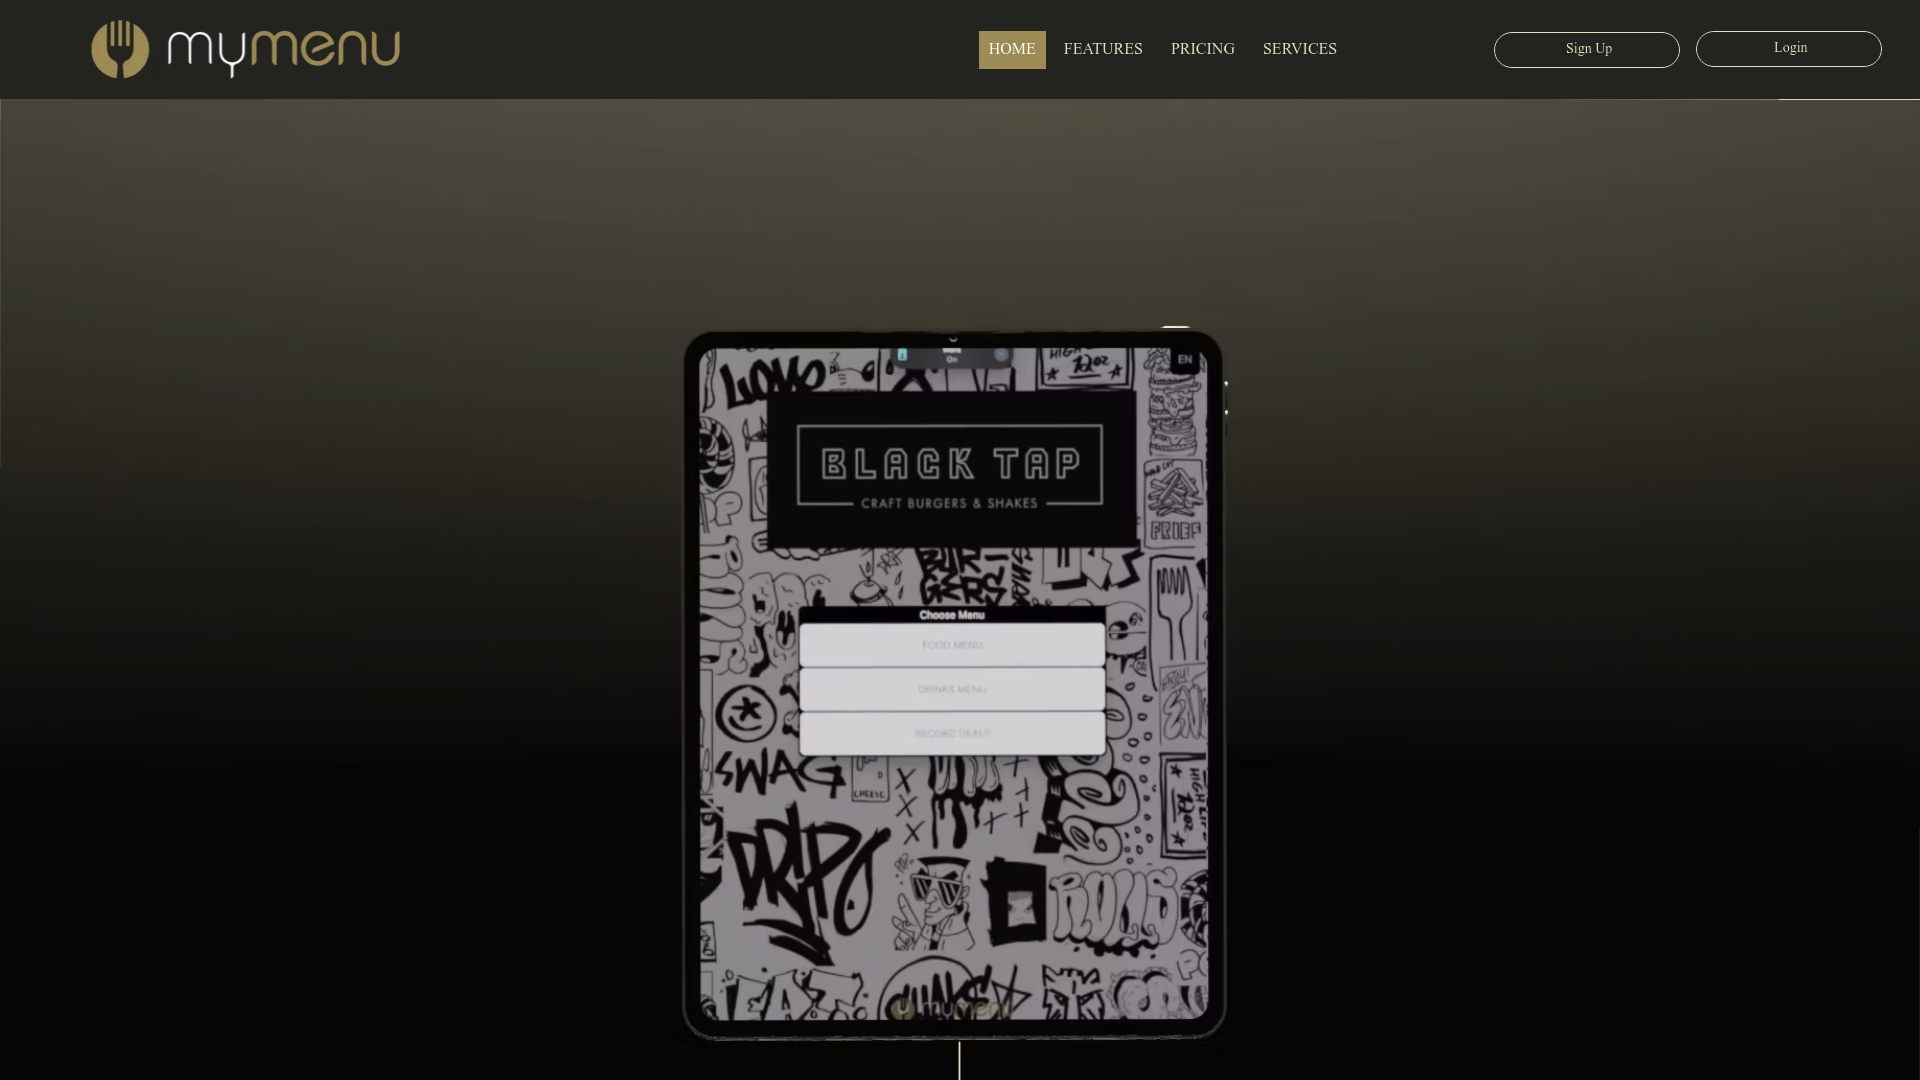
MyDigiMenu.com brings together everything covered in this guide into one intuitive platform built specifically for hospitality. From generating your free QR menu in minutes to deploying fully branded digital menu solutions that integrate with your POS, the platform handles the complexity so you can focus on the guest experience. Loyalty programs, allergen labels, multilingual support, and real-time editing are all built in. Check out transparent pricing for digital menus and start your trial today with no obligation required.
Frequently asked questions
Do digital restaurant menus legally require allergen disclosures?
Yes, digital menus require allergen disclosures just like physical menus, with California’s allergen law explicitly covering digital ordering platforms and kiosks, and similar standards spreading to other states.
What’s the best way to make QR menus accessible?
Use high-contrast color designs and confirm your platform is compatible with screen readers so that guests with visual impairments can navigate independently without needing staff assistance.
How long does it take to set up a contactless ordering system?
Most restaurants can complete setup in one to three days, with menu building taking the longest and staff training typically requiring just two to three hours.
Can contactless systems help increase table turnover?
Absolutely. Digital ordering removes the wait for a server to take the order and often integrates direct payment, which compresses the total dining cycle and allows you to seat more covers during peak service hours.
Recommended
Comments